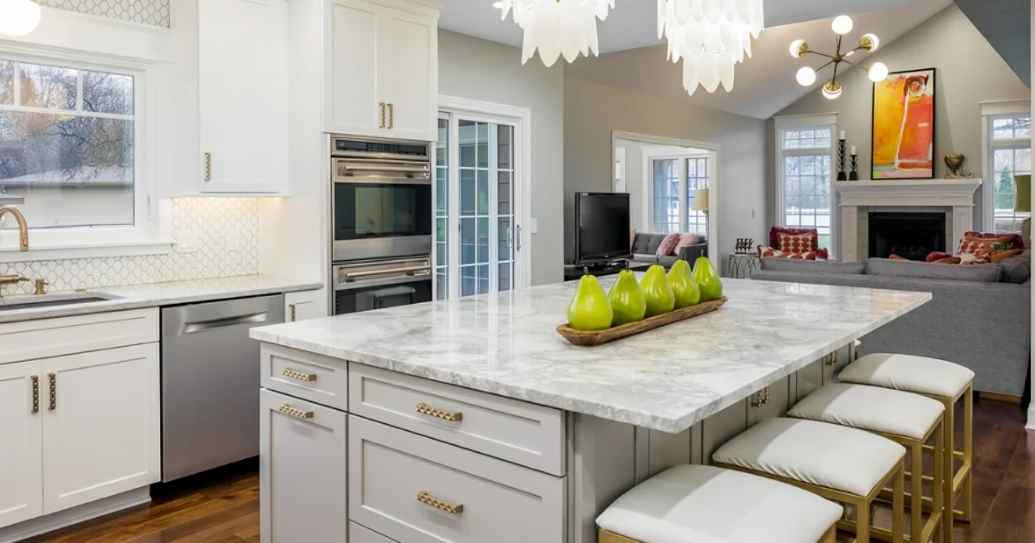
A DIY bathroom remodel is one of the most effective ways to upgrade your home without overspending. The bathroom is where most homeowners start and finish each day, but this frequently used space is often overlooked when planning home improvements. With the right approach, you can create a fresh and functional bathroom while keeping costs under control.
A DIY approach, especially when handling demolition and basic prep work, can save you thousands in bathroom remodeling. Beyond gutting the bathroom, you can reduce expenses by limiting high-cost materials like new tile. Refinishing existing fixtures instead of replacing them is another smart way to stay within budget. Proper planning helps ensure your remodel looks professional and lasts longer.

Proper planning is the foundation of a successful DIY bathroom remodel. Before starting any physical work, it is important to define your goals clearly. Planning helps control costs, manage time, and reduce mistakes. A well-thought-out approach keeps the renovation process smooth from start to finish.
Before beginning the renovation, select a design that aligns with your vision and experience level. Some homeowners focus on surface-level updates like paint and a vanity swap. Others plan a full bathroom teardown with new layouts and finishes. Knowing the project scope early helps avoid confusion later.
Here are a few details you absolutely need to nail down before you begin your bathroom renovation:

Having the right tools and materials before starting makes the renovation process smoother and safer. Many delays happen because basic equipment is missing during the project. Proper preparation helps maintain workflow and reduces frustration. Quality tools also improve accuracy and finish quality. Investing in essentials early saves time and unnecessary expenses later.
Basic hand tools are required for most bathroom renovation tasks. A tape measure, level, hammer, and utility knife help with layout and demolition work. Power tools like a drill and circular saw make installation faster and cleaner. Safety gear such as gloves, goggles, and masks is equally important. A stud finder helps locate framing behind walls. Having these tools ready improves efficiency and reduces mistakes during remodeling.
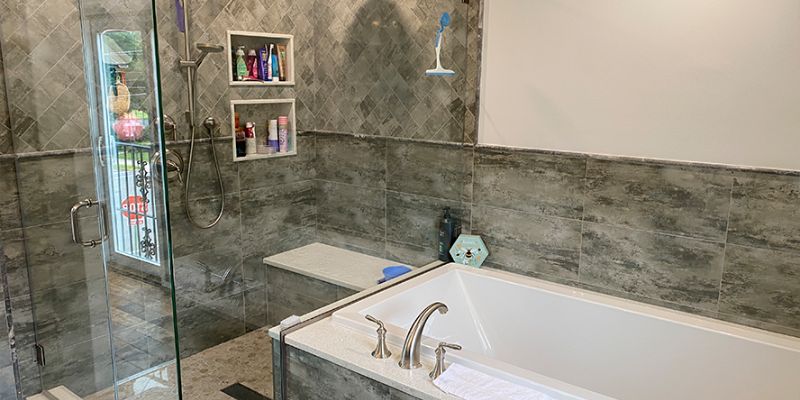
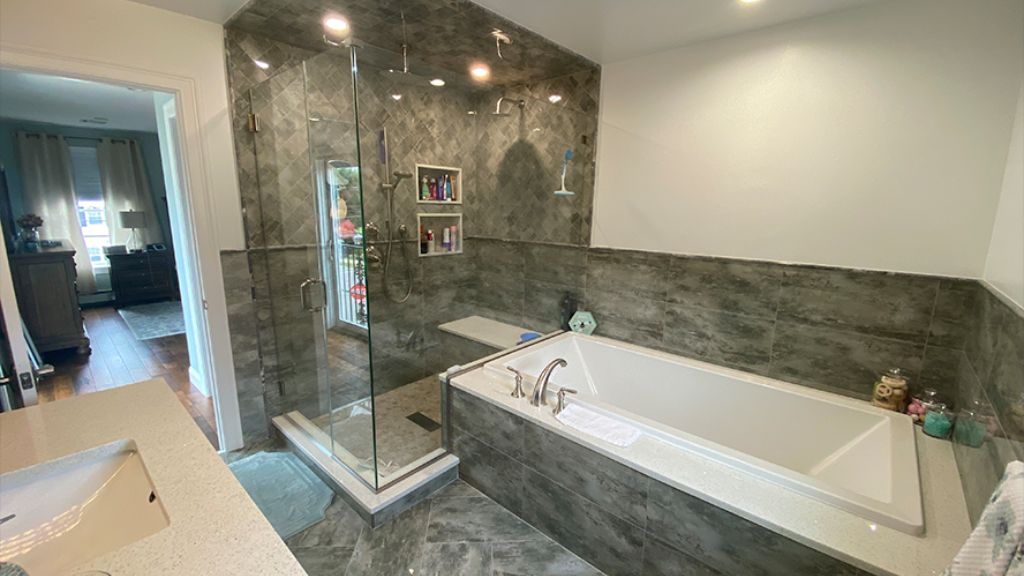
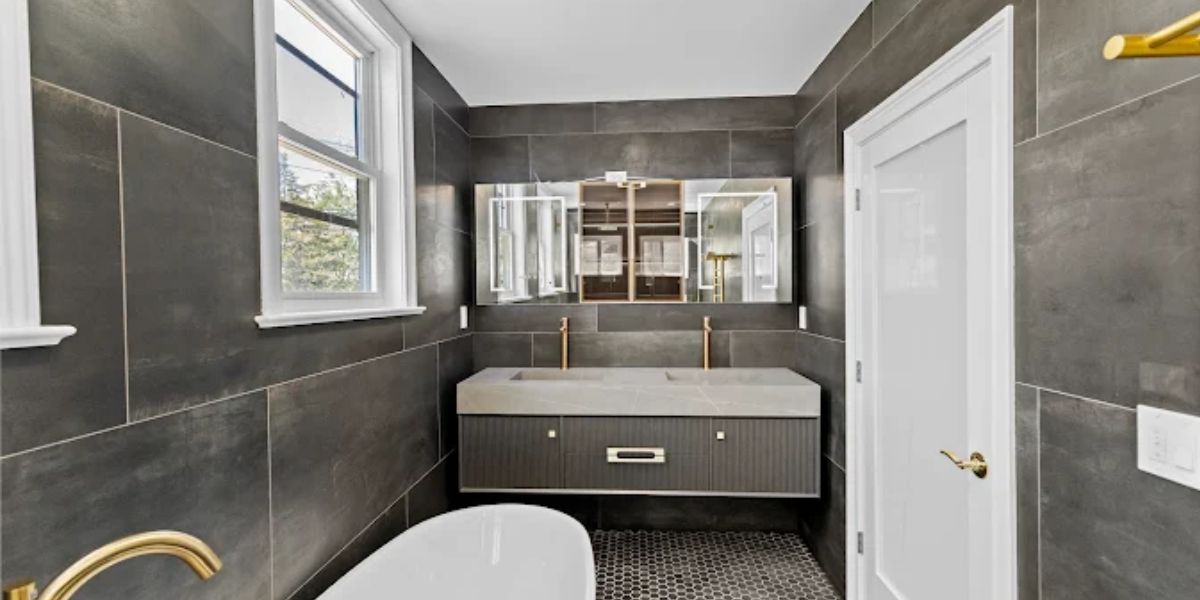
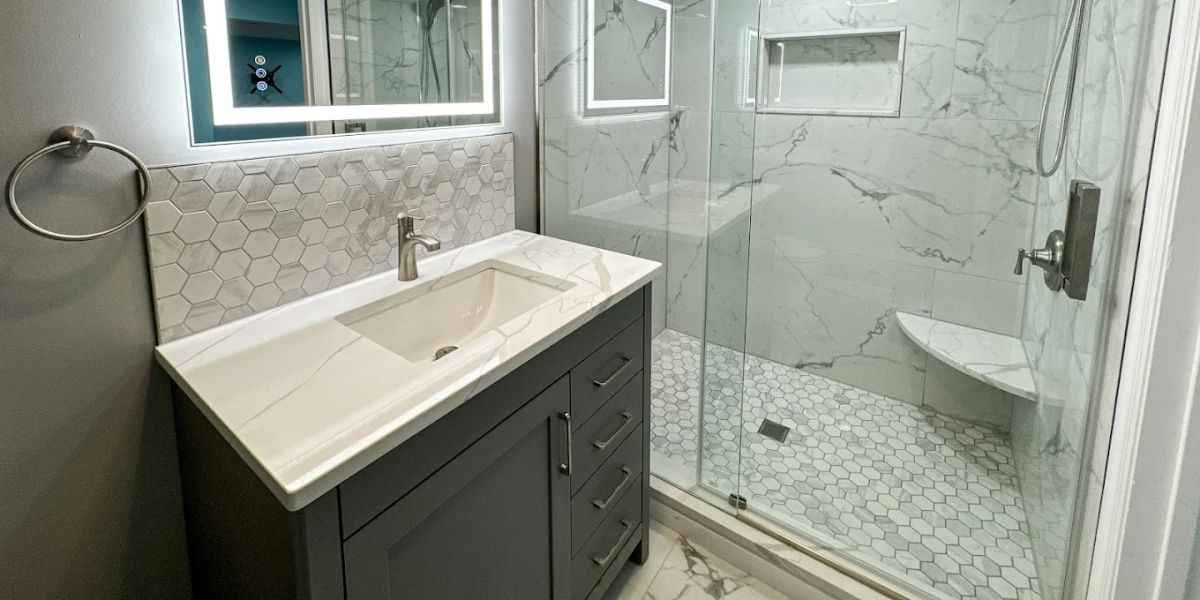
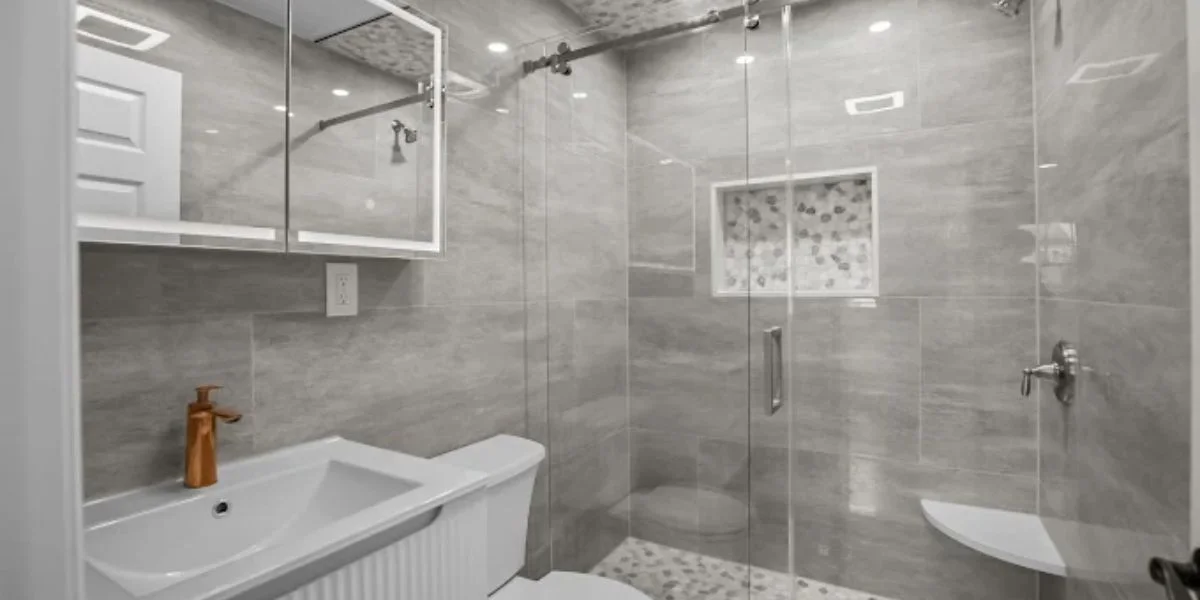
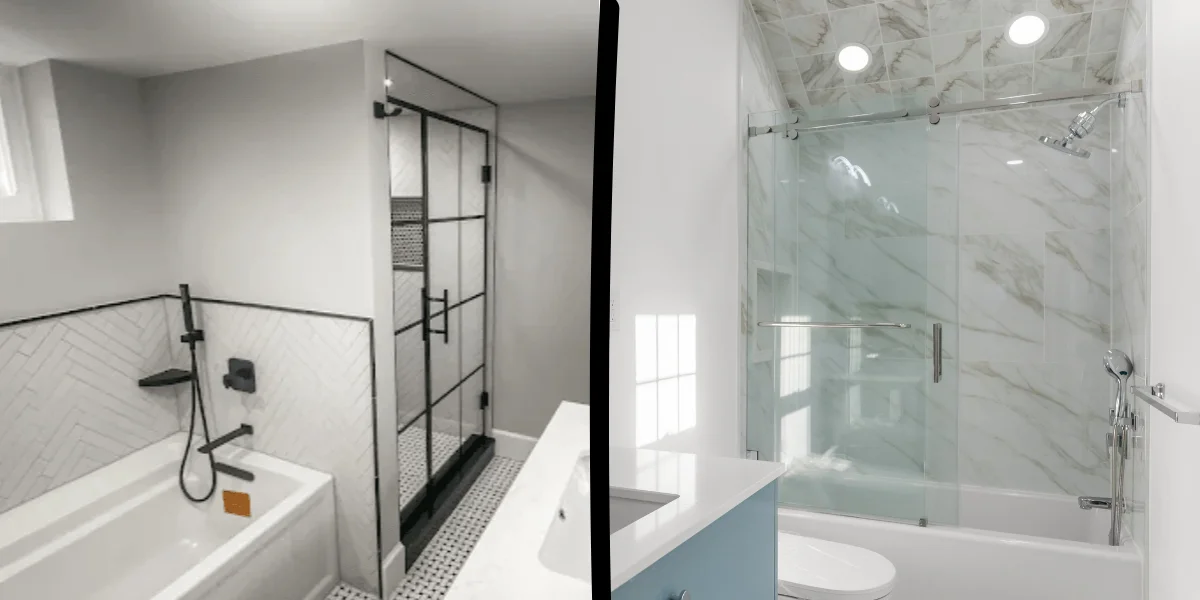
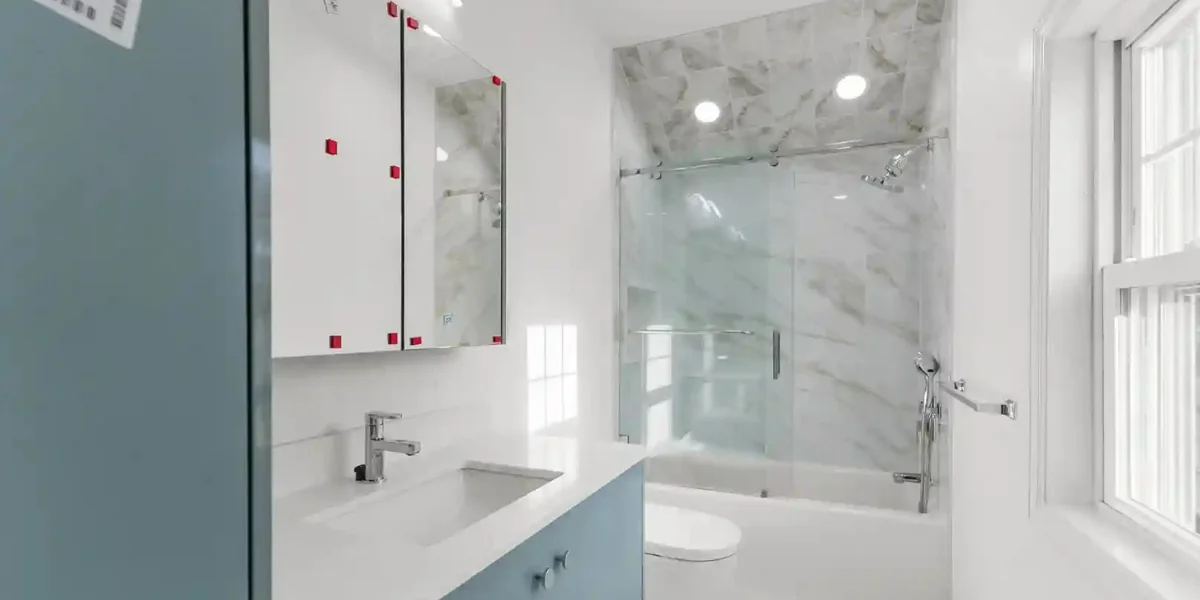
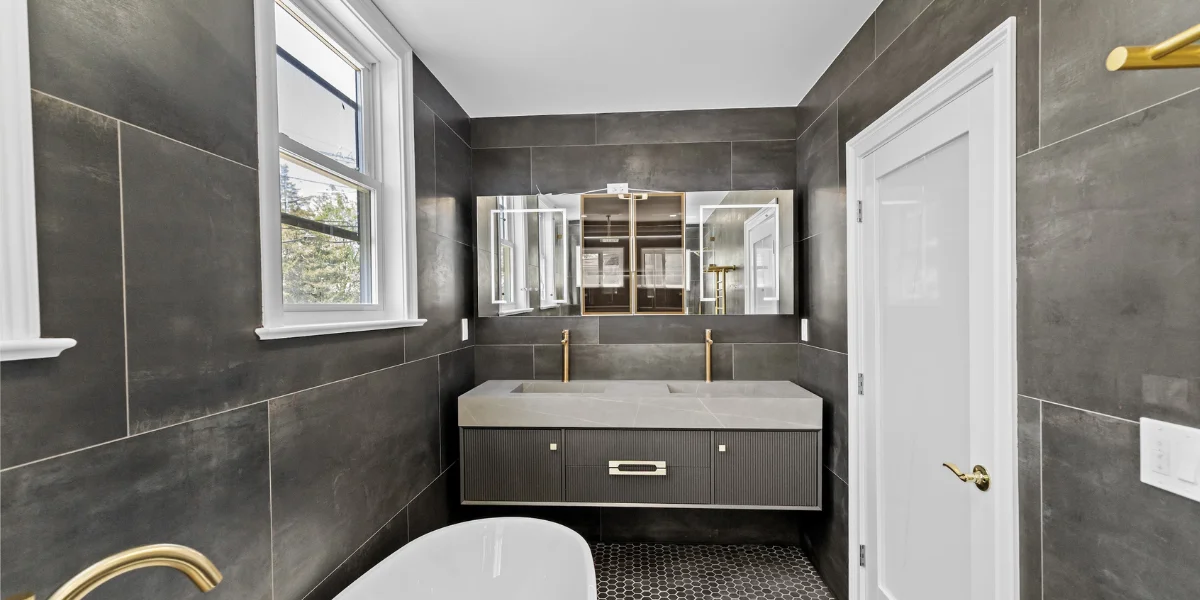
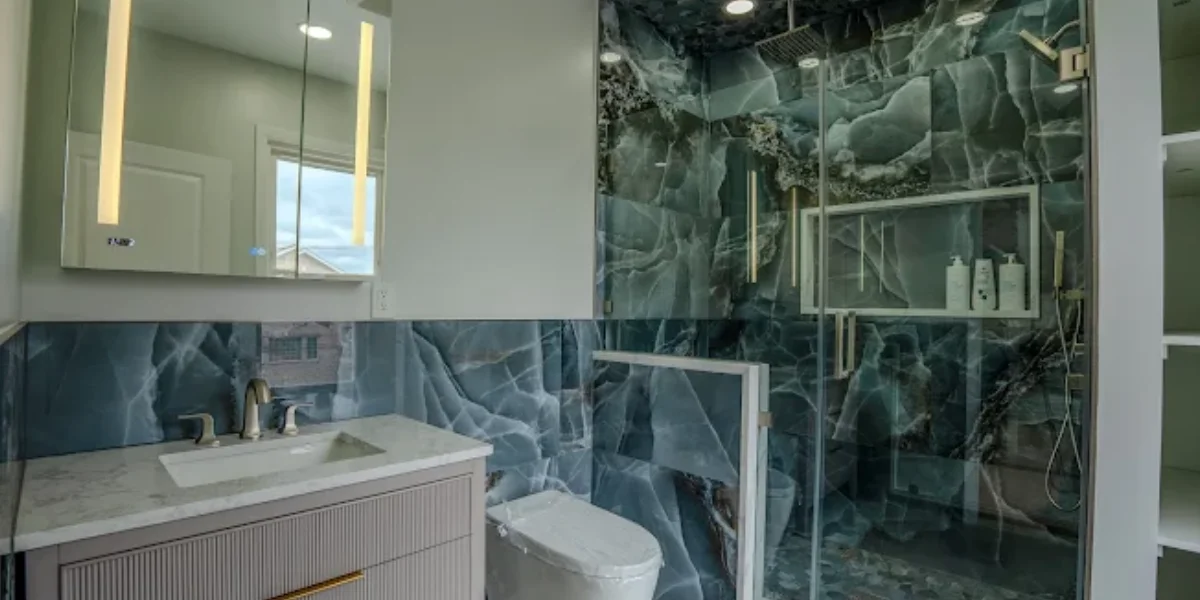
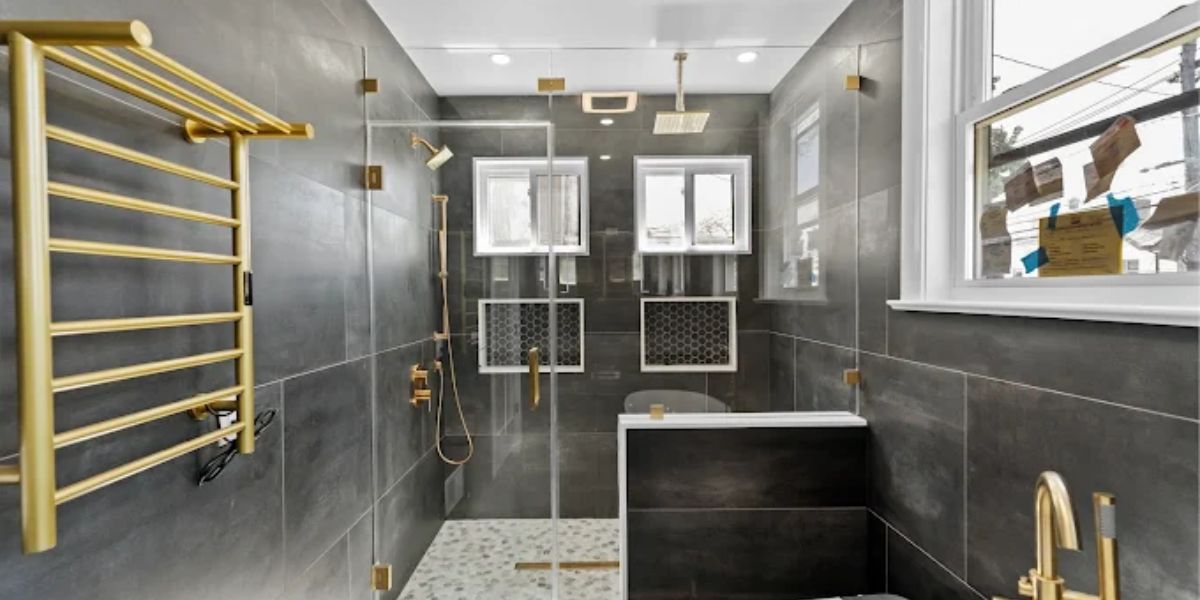
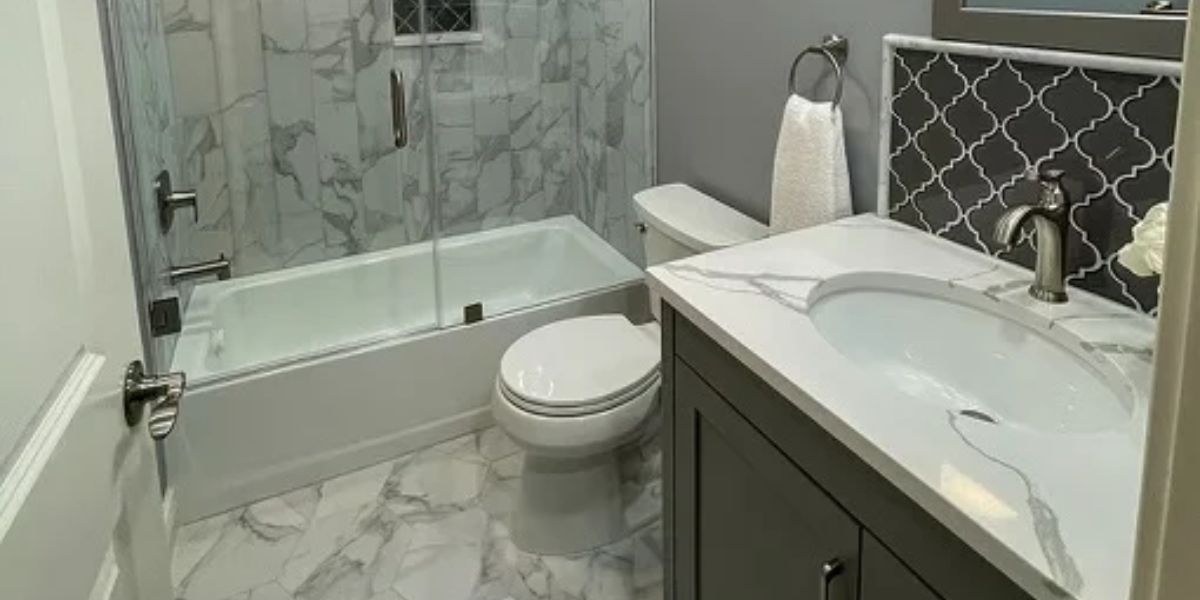
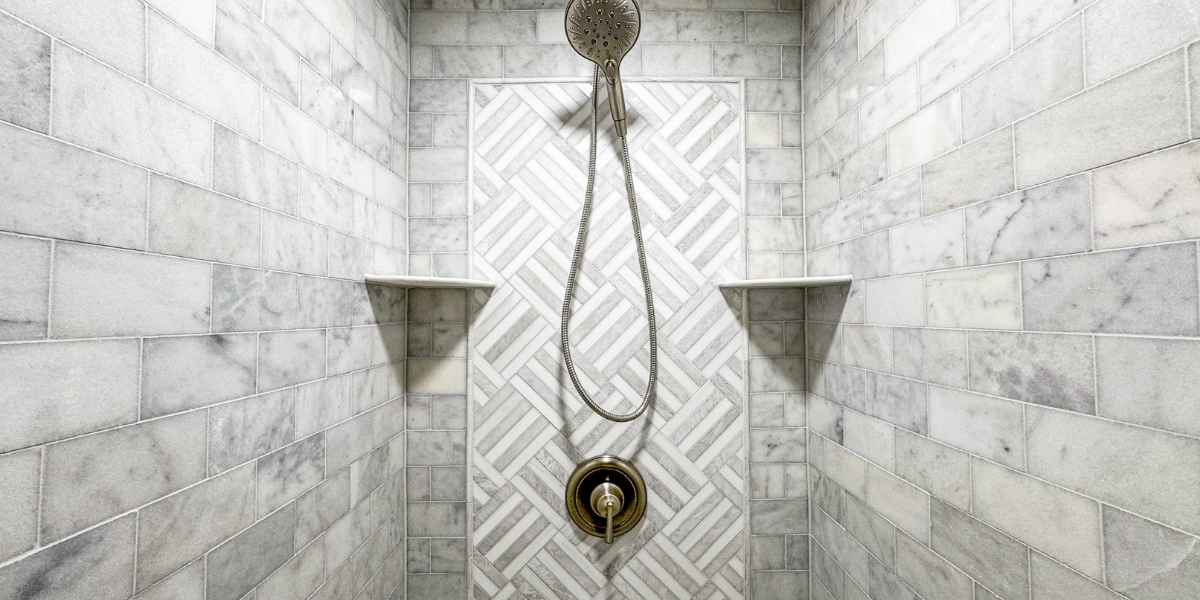
Bathrooms face constant moisture and temperature changes. Materials must be water resistant and easy to maintain. Flooring options like vinyl, tile, or sealed concrete perform well in wet areas. Moisture-resistant drywall protects walls from long-term damage. Fixtures made from quality metal finishes last longer and resist corrosion. Choosing durable materials ensures better performance and fewer repairs over time.
A step-by-step approach makes a bathroom renovation more manageable and reduces costly mistakes. Whether you are updating fixtures or doing a full renovation, following a clear process helps maintain quality and safety. This guide walks you through each stage so your project stays organized and efficient.
If you are planning a partial or full renovation, demolition is the first step. Start by removing drywall and any fixtures you plan to replace. Doing this work yourself can save money, but it must be done carefully to avoid damage. Always work slowly and methodically during this phase. A well-executed demolition sets the foundation for a smooth remodel.
Tips for Gutting a Bathroom:
If the demolition feels overwhelming, consulting a home remodeling contractor can prevent costly structural mistakes.
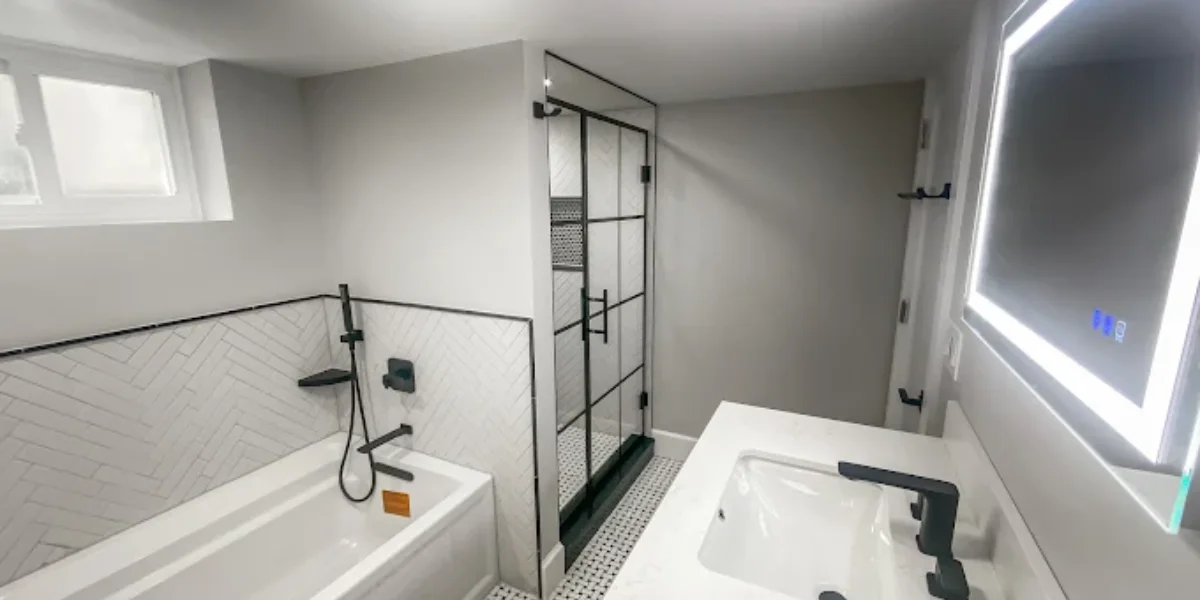
Once demolition is complete, inspect the subfloor for water damage or rot. Any damaged areas should be replaced before installing new fixtures. Choose a shower pan or tub that fits both your design style and available space. Shower bases are available in square, rectangular, and corner-cut designs.
When selecting fixtures, consider door placement and bathroom layout. Many homeowners choose combination tub and shower units for flexibility. While walk-in showers are popular, having at least one bathtub improves resale value. For complex installations, a bathroom remodeling contractor ensures proper waterproofing and alignment.
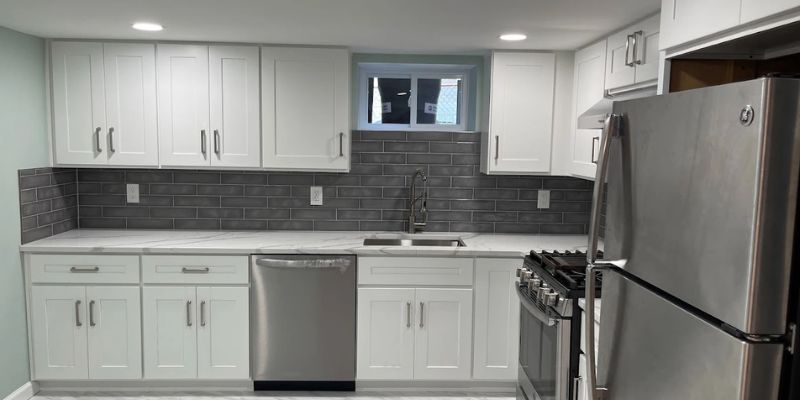
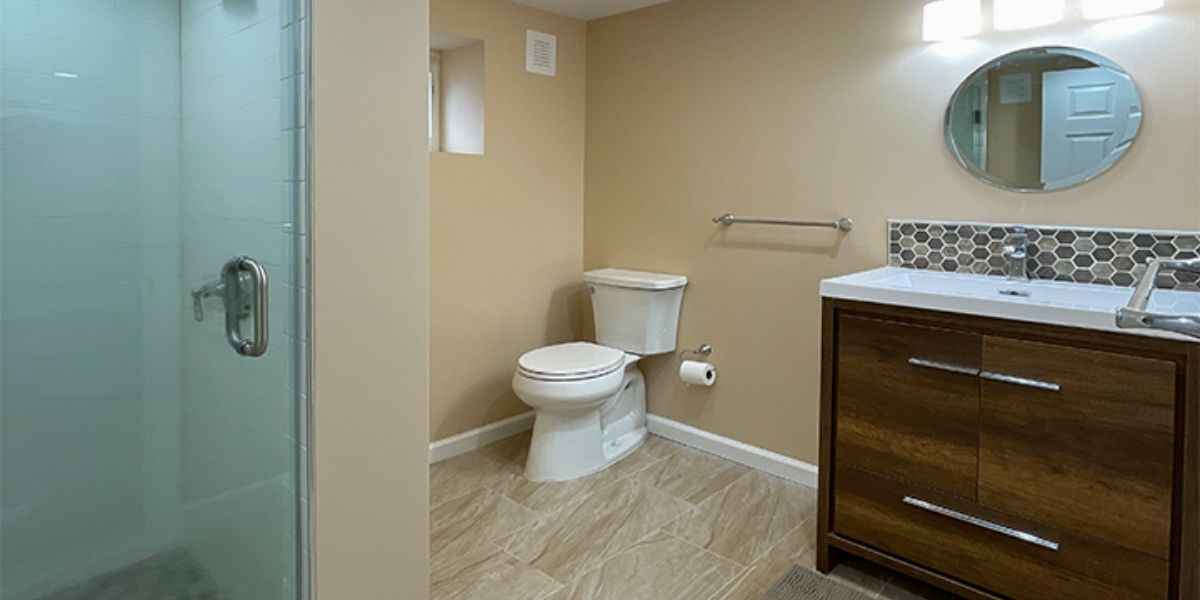
After preparing the subfloor, begin installing your new flooring. Tile is a classic option, but vinyl and laminate are budget-friendly and easier to install. Moisture resistance is essential for bathroom floors. Always follow manufacturer guidelines for adhesives and spacing.
If using tile, mark straight reference lines using a chalk line to maintain alignment. Start tiling from the center of the room and work outward. Removing and reinstalling baseboards after flooring improves the final appearance. Proper flooring installation improves durability and safety.
Install new drywall carefully around showers, vanities, and plumbing openings. Cutting drywall precisely takes time, but accuracy matters. Use drywall tape and compound to seal seams and gaps. Cement board should be used instead of drywall in shower and tub areas.
Apply a waterproof membrane to protect walls from moisture. Once walls are ready, painting adds instant visual impact. Semi-gloss paint is recommended because it resists moisture and is easy to clean. This step greatly improves the overall look of your space.
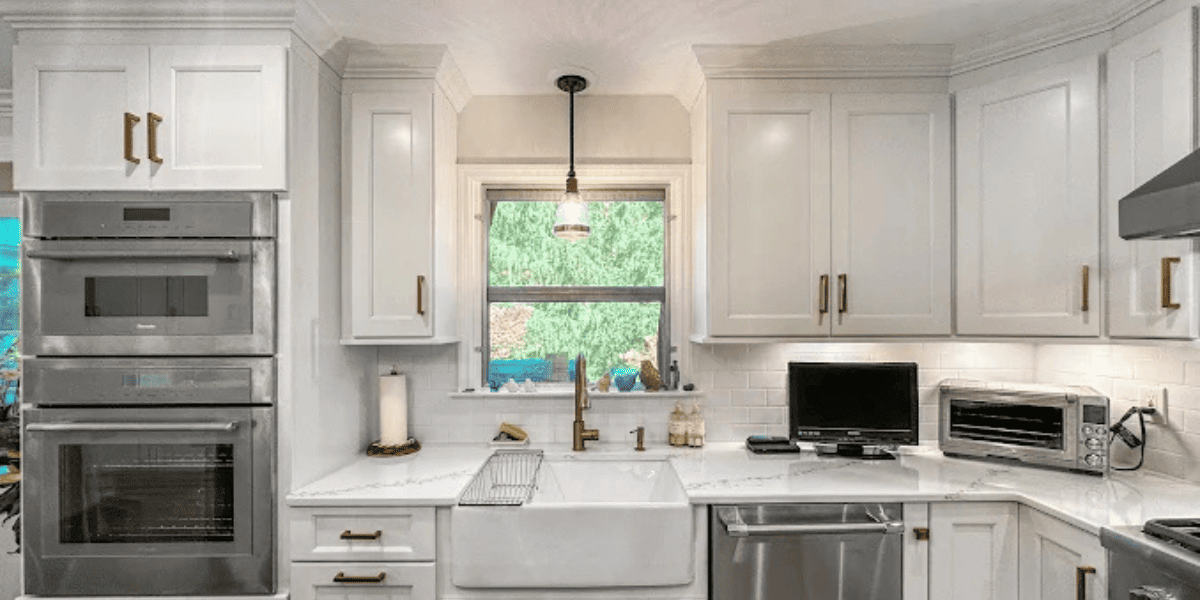
With walls complete, install the vanity and cabinets. Start with the vanity, including the sink and faucet. Ensure plumbing connections are secure and leak-free. Once the vanity is in place, install mirrors, wall cabinets, and trim.
Proper alignment is important for both function and appearance. Storage planning during this step improves daily usability. If layout changes are involved, guidance from a home remodeling contractor can be helpful.
Install new lighting fixtures to improve visibility and style. If fixture sizes differ from the originals, wiring adjustments may be required. Wall repairs may also be needed around old mounting points. Proper lighting placement enhances safety and comfort.
Outlet placement should be practical and accessible. If wiring changes are required, hiring a licensed electrician is recommended. This step ensures safety and compliance with local codes.
At this stage, most elements are complete except the toilet. Installing the toilet last reduces the risk of damage during construction. Reconnect water lines carefully and test for leaks. Ensure all fixtures function properly before final cleanup.
This final step brings the bathroom together and prepares it for daily use. For complex plumbing work, a bathroom remodeling service ensures everything meets safety standards.
Understanding the cost differences between a DIY bathroom remodel and hiring a professional is essential for planning your project. Doing it yourself can save labor costs, but it requires time, skills, and careful attention to plumbing, electrical, and waterproofing. Professional bathroom remodeling contractors may cost more upfront but provide guaranteed quality, adherence to NJ building codes, and a smoother timeline. Choosing the right approach depends on your budget, skill level, and project complexity. A clear cost comparison helps homeowners make informed decisions and avoid unexpected expenses during the remodel.
Undertaking a DIY bathroom remodel can be exciting, but many homeowners make avoidable mistakes that lead to delays, extra costs, or safety issues. One common error is underestimating the complexity of plumbing and electrical work. Cutting corners on waterproofing or ventilation can cause mold and long-term damage. Choosing low-quality materials may save money initially but often results in frequent repairs and poor durability.
Poor layout planning can limit storage, movement, and comfort in the bathroom. Another mistake is skipping permits or ignoring local NJ building codes, which can lead to fines or failed inspections. Finally, rushing the project without a clear timeline often increases stress and compromises the overall quality. Learning from these mistakes ensures a smoother renovation and a more functional, attractive bathroom.
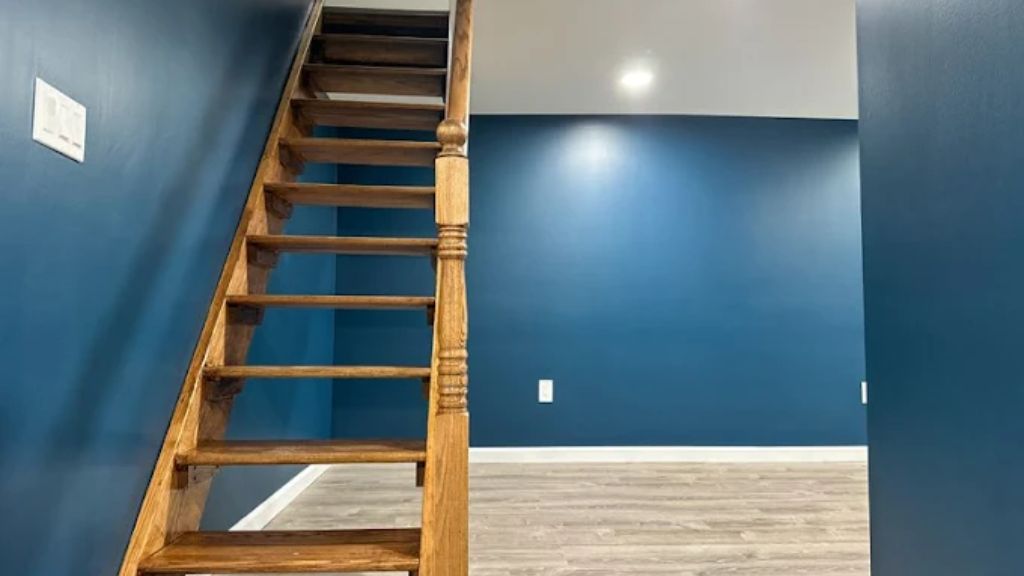
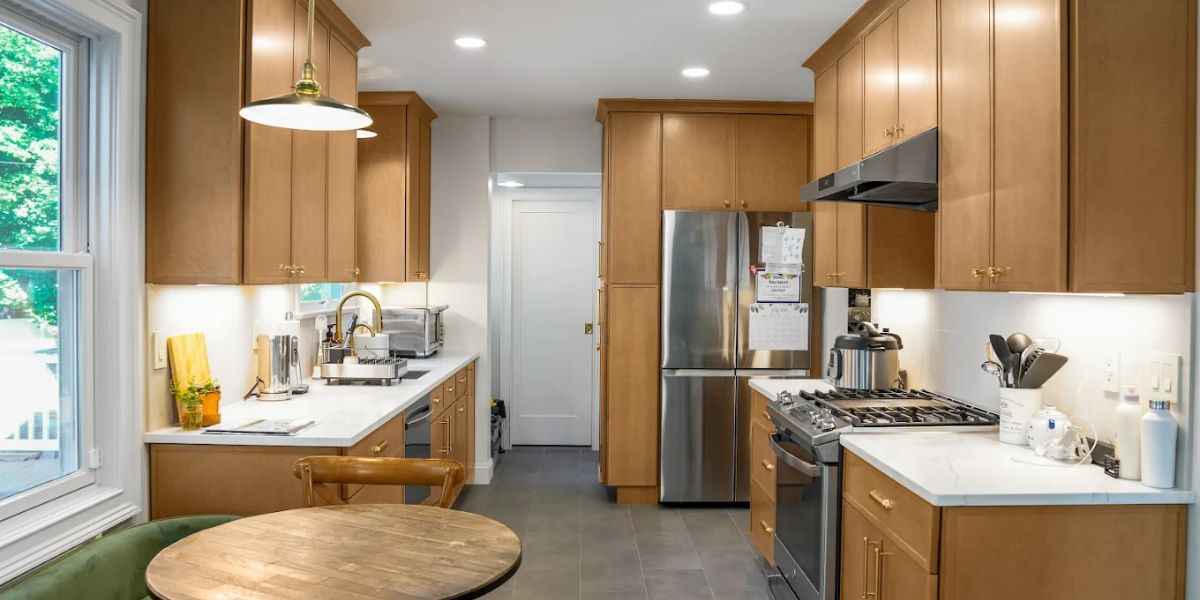
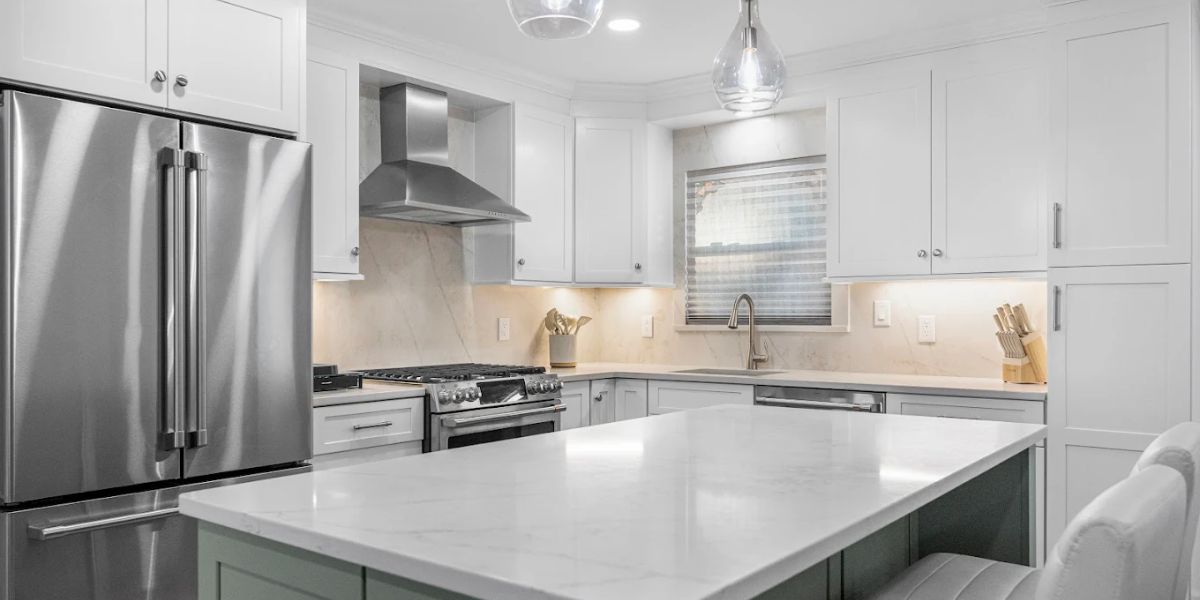
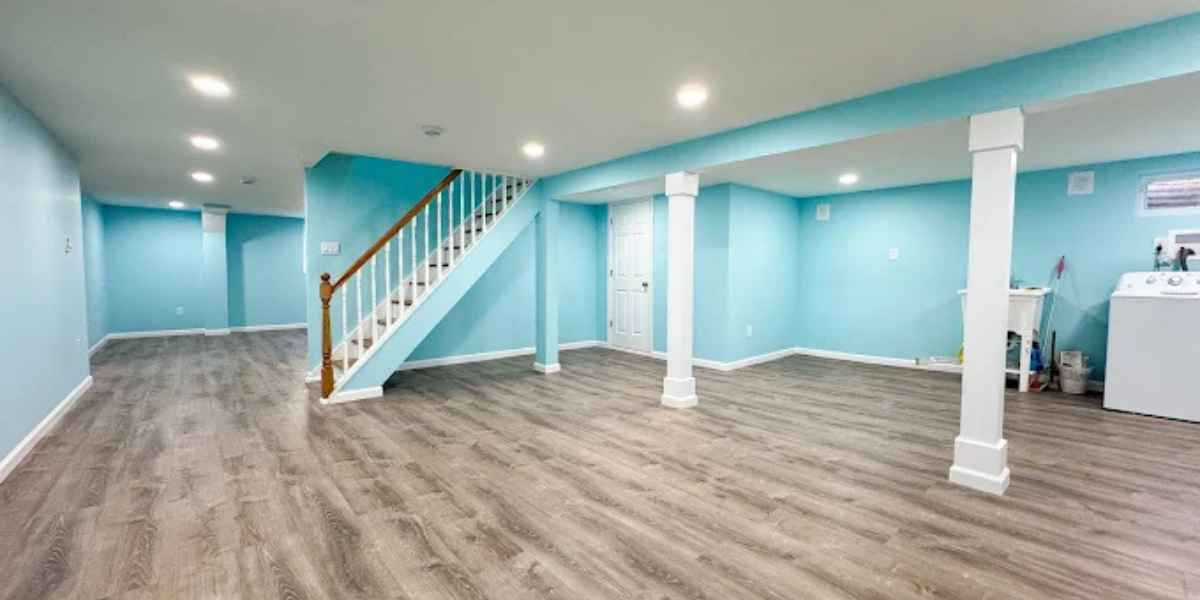
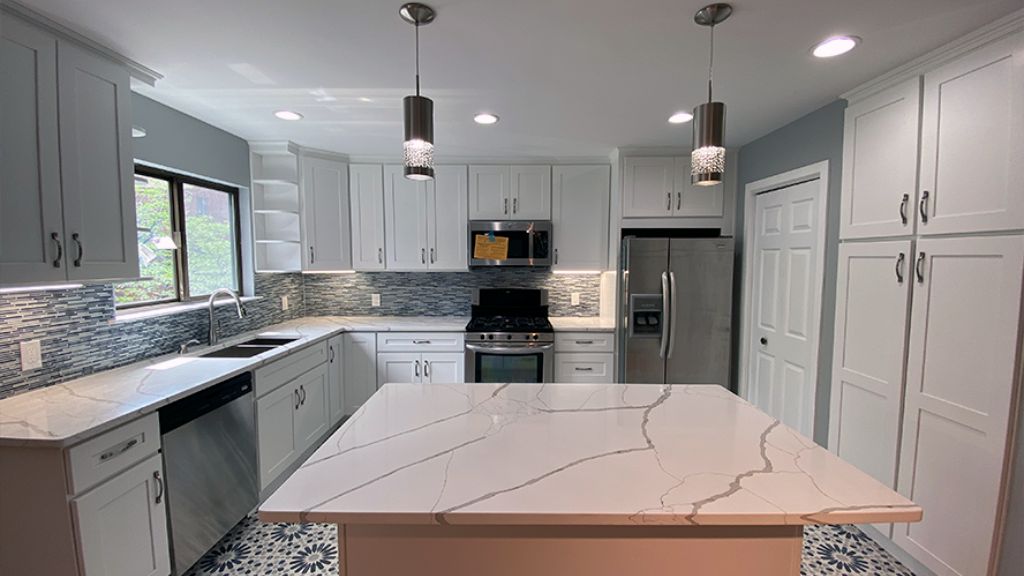
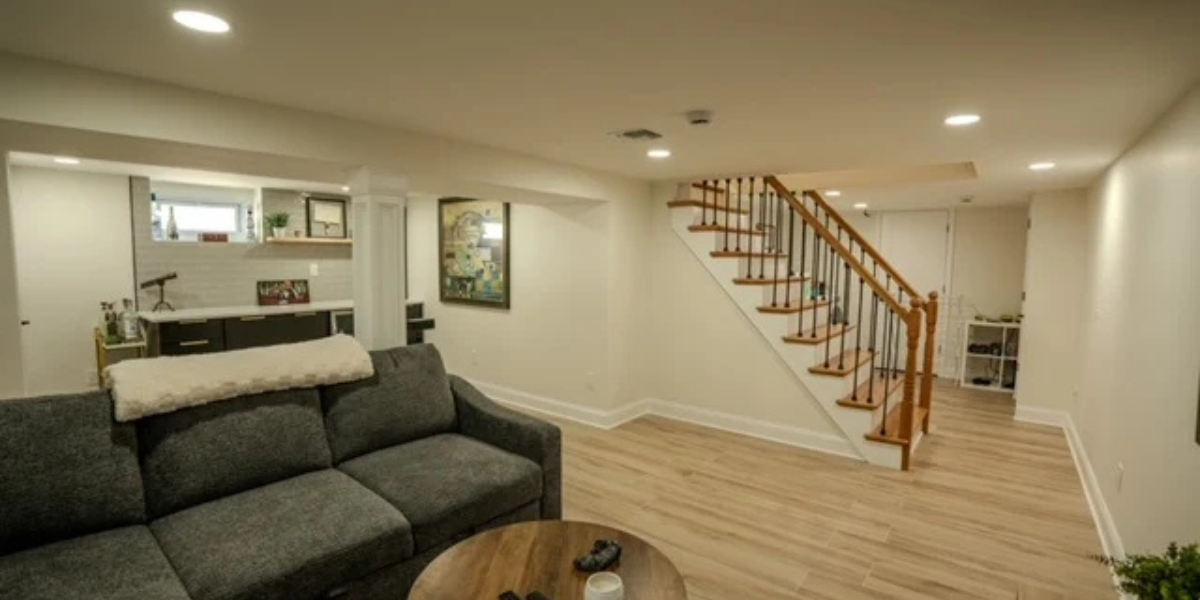
Even with careful planning, a DIY bathroom remodel can quickly reach stages where professional assistance becomes crucial. Homeowners often underestimate the complexity of plumbing, electrical work, or structural adjustments, which can lead to delays, additional expenses, or safety hazards. A home remodeling contractor brings expertise, experience, and specialized tools that most DIYers lack, ensuring every aspect of the project is done correctly. Professionals also anticipate common pitfalls, such as water damage behind walls, uneven flooring, or improper fixture alignment, which saves homeowners time and money. Whether your project includes a simple bathroom update, a full bathroom gut, or a combination with kitchen remodeling or basement remodeling, hiring an expert ensures a smoother, stress-free renovation.
Complex plumbing or electrical adjustments are often the first point where DIY projects hit limits. A licensed home remodeling contractor ensures that all wiring, outlets, water lines, and drainage systems meet NJ building codes. Correct installation prevents leaks, electrical hazards, and costly repairs down the line. Contractors can also suggest efficient layouts, such as relocating plumbing for better vanity placement or adding additional power outlets for modern appliances. Their ability to foresee potential problems keeps your bathroom functional, safe, and future-proof.
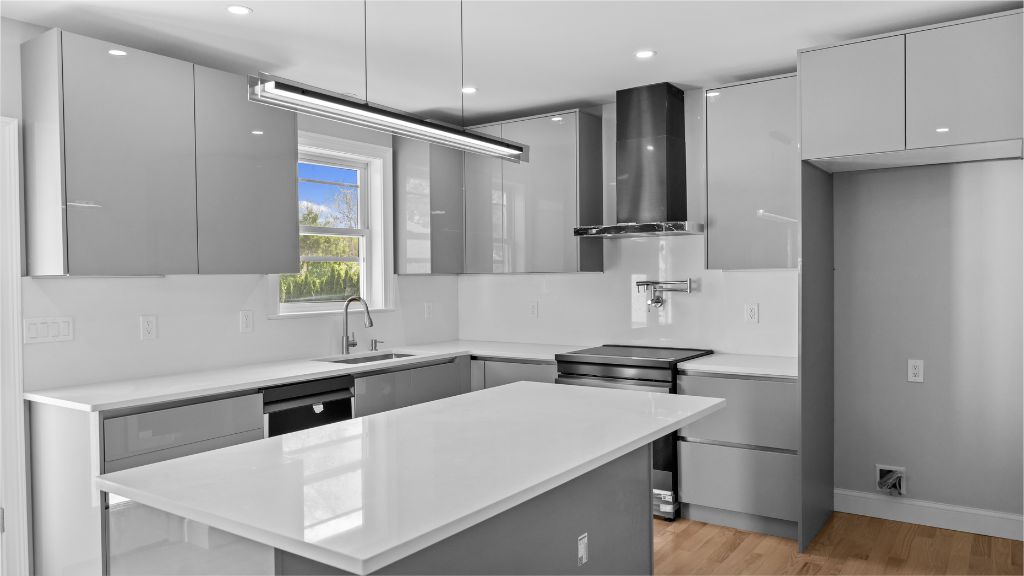
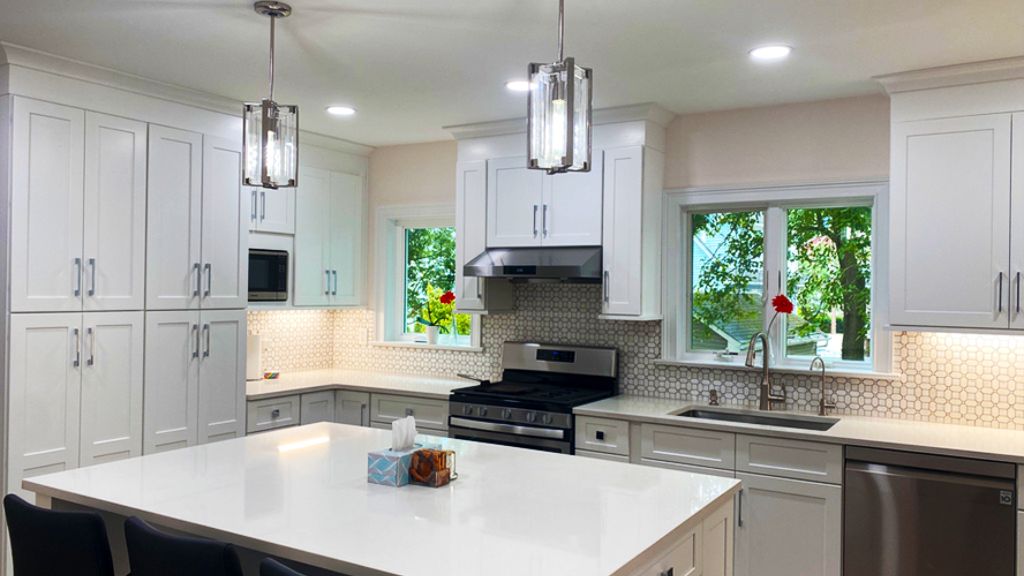
Professional contractors handle all necessary permits and schedule inspections to ensure your remodel is fully compliant with NJ regulations. They bring expertise in finishing work, from perfectly aligned tiles to secure cabinet installation and precision painting. Using specialized tools and techniques, they reduce errors and speed up project timelines. Professionals also provide advice on durable materials and moisture-resistant finishes, helping homeowners get the most value from their investment. Whether it’s part of a home remodeling service, a bathroom remodeling service, or a kitchen remodeling project, hiring a contractor ensures the remodel looks polished, lasts longer, and increases property value.
To DIY a bathroom remodel, start with careful planning, choosing a design, and gathering the right tools and materials. Follow step-by-step instructions for demolition, plumbing, flooring, and finishing to complete a safe and functional upgrade.
Remodeling a bathroom yourself involves removing old fixtures, updating plumbing and electrical as needed, installing new flooring, cabinets, and finishes. Taking it step by step and staying organized ensures a professional-looking result even on a DIY budget.
A DIY bathroom remodel in NJ typically costs between $500 and $5,000 depending on the size, materials, and level of work you can do yourself. Hiring professionals raises costs but guarantees code compliance, quality, and fewer mistakes.
DIY projects can save money but carry risks like plumbing mistakes, electrical hazards, and water damage. Without experience, small errors can become costly problems, making professional help a safer choice.
If your remodel involves structural changes, advanced plumbing, or electrical work, DIY is not recommended. A home remodeling contractor ensures safety, quality finishes, and adherence to NJ building codes, reducing stress and long-term costs.
A DIY bathroom remodel can be rewarding when planned and executed carefully. From selecting durable materials to updating fixtures and finishes, attention to detail makes all the difference. Following the right steps ensures your bathroom looks beautiful, functions efficiently, and adds value to your home.
Ready to upgrade your bathroom stress-free? Trust Adan Construction for expert Bathroom Remodeling Service, Kitchen Remodeling Service, Basement Remodeling Service, and full Home Remodeling Service across NJ.Call us at 201-500-5742 to schedule your consultation and start your dream bathroom remodel today.


.png)
.png)


.webp)


.jpg)